AppVis Extension
App Inventor 2 is an online tool used to create mobile apps for use on Android devices.
It is available for free at ai2.appinventor.mit.edu.
This page gives a quick look at AppVis, an extension for usage of App Inventor 2 in
conjunction with iSENSE. With AppVis, App Inventor 2 apps are able to upload data sets
to a project, and retrieve a URL of a visualization of a project.
Get the extension
Start a new project on App Inventor 2 where you would like to use AppVis.
The last option on the Palette found on the left side of the screen is "Extension".
Click that, and then click where it says "Import Extension".
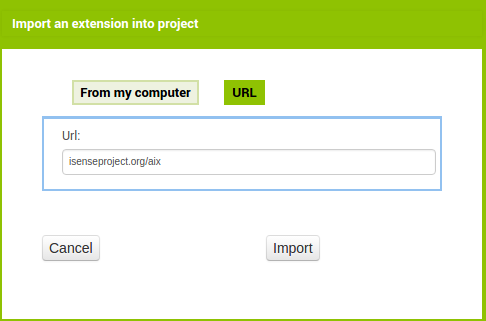
You will be prompted to either import an extension from your computer,
or use a URL. Use a URL, paste in the link http://isenseproject.org/aix,
and click "Import" to finish. iSENSEPublisher should be installed, and can be dragged into the
Viewer just as any other regular component.
Set up your project
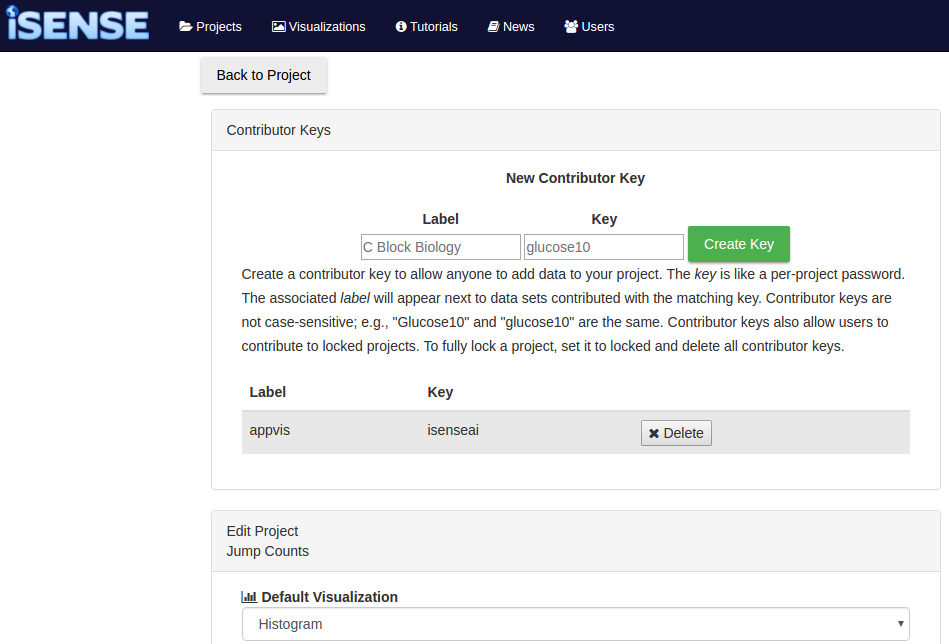
You don't need to change much to set up your iSENSE project for use with App Inventor 2.
What you need to do is set up a contributor key and find your project ID.
Design your screen
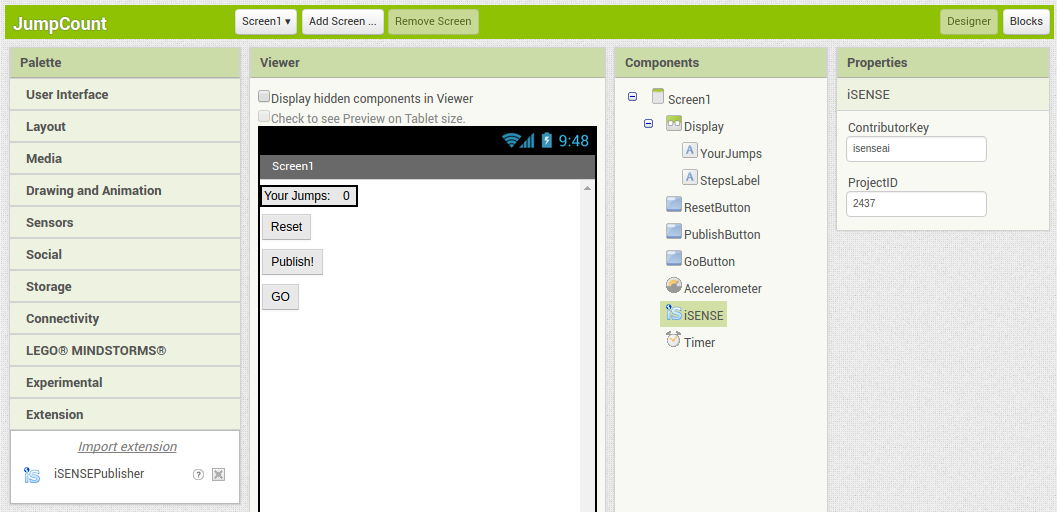
These are all the current editable properties in the Designer page of App Inventor 2 for the iSENSEPublisher extension.
ContributorKey is your contributor key from the previous step, and ProjectID is from the previous step as well.
UseVis specifies the visualization that will show up if you try to view it in the app.
Code your blocks
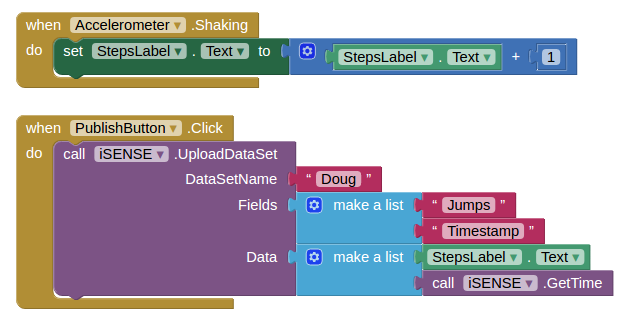
Apps made in App Inventor are powered by code blocks.
In addition to the numerous blocks App Inventor already has for you to use,
the AppVis extension includes many blocks
that make working with iSENSE simple. Combined with a WebViewer component, you can even
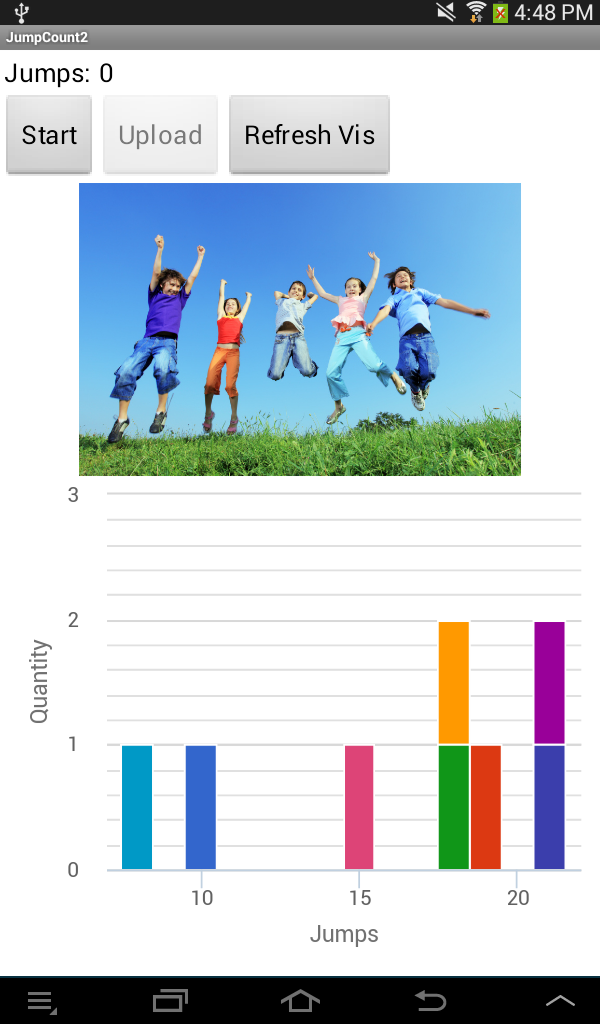
view your default visualization right on the app screen!
Use your app!
With your screen designed and your blocks set up, your app is ready to run on Android devices.
Check out the AI Companion App
for an easy way to test and run your AppVis creations!
For more details and the latest on AppVis, check out the wiki page.
For more details and the latest on AppVis, check out the wiki page.
